
Say Hello to a Simple DIY Hand Salve!!
Ok, a few reasons why doing my nails at home is important to me...
- Creative/Fun
- Money Saving (compared to salon visits)
- Quality Control (using homemade & natural essentials)
- Time Saving
- Challenging/Mindful
- It's my Girly Obsession!
I'm an avid & curious DIY-er. Doing my own nails makes me feel like I've accomplished a great feat. The only problem is that I spend hours on my home manicures and they almost always smudge. And, rarely last longer than a week without noticeable wear. So, I thought "Hey, since there's all this hype about Shellac/Gel nails, why don't I just try it myself?" Ya! That's right baby! And I'm gonna share my first time with all of you!
But, before we get started, and since I'm on this natural kick -just saying NO to commercial brands- here's my homemade recipe for an All Natural Hand Salve that will make your hands say thank you...

"Easy Peasy" Hand & Nail Salve
2 Tbs White Beeswax
1/4 Cup Sweet Almond Oil
2 Tbs Camelia Oil
2 Tbs Shea Butter
1 Tsp Vegetable Glycerin
1 Tsp Soy Lecithin
1 Tsp Vitamin E
10 Drops Lavender Essential Oil
3 Drops Frankincense Essential Oil
The good thing about salves is that they don't require preservatives and still last a while. However, I use vitamin E in almost every skin care recipe. Vitamin E is high in antioxidants which are both good for your skin and work to keep the final product from oxidization. Since there is no water in this recipe, the use of a full spectrum preservative is not necessary. This recipe should last about six months.
I buy most of my ingredients on line. I admit, I'm a bit obsessed with shopping on line. I just love surfing the Net! The ingredients for this recipe come from three of my favourite wholesale sites. Click on any ingredient in the list and a new link will open with the wholesale site I purchased that item from.
You can also check out your local health food stores. Feel free to use any brands you like. This recipe isn't too fussy! I picked the ingredients based on what is best for hands and nails, as well as ingredients that have super healing properties for the days when your hands become dry & cracked from weather and hard work. This recipe is best used during a manicure or at night. It can be used any other time too, but you might need to wait a few minutes before handling things as your hands will be slippery until the oils absorb into your skin. It really only takes five minutes max! :)
 |
| Measuring spoons & cups, dropper and the ingredients... |
Measure out your Beeswax, Shea Butter, Almond and Camelia Oils, Vegetable Glycerin and Soy Lecithin.


Unfortunately, I was distracted by taking pictures and didn't pay attention to the heat. It was almost all the way at medium! OMG!! So, the Vegetable Glycerin over heated and bubbled up... As you can see in the picture below, those bubbles on the surface are the Vegetable Glycerin. Now, for this recipe you can still use it. It won't hurt the salve... But if you ever over heat Glycerin in a deodorant or lotion recipe, you'd have to toss it and start from scratch. Let my lessons learned be advice to you! lol
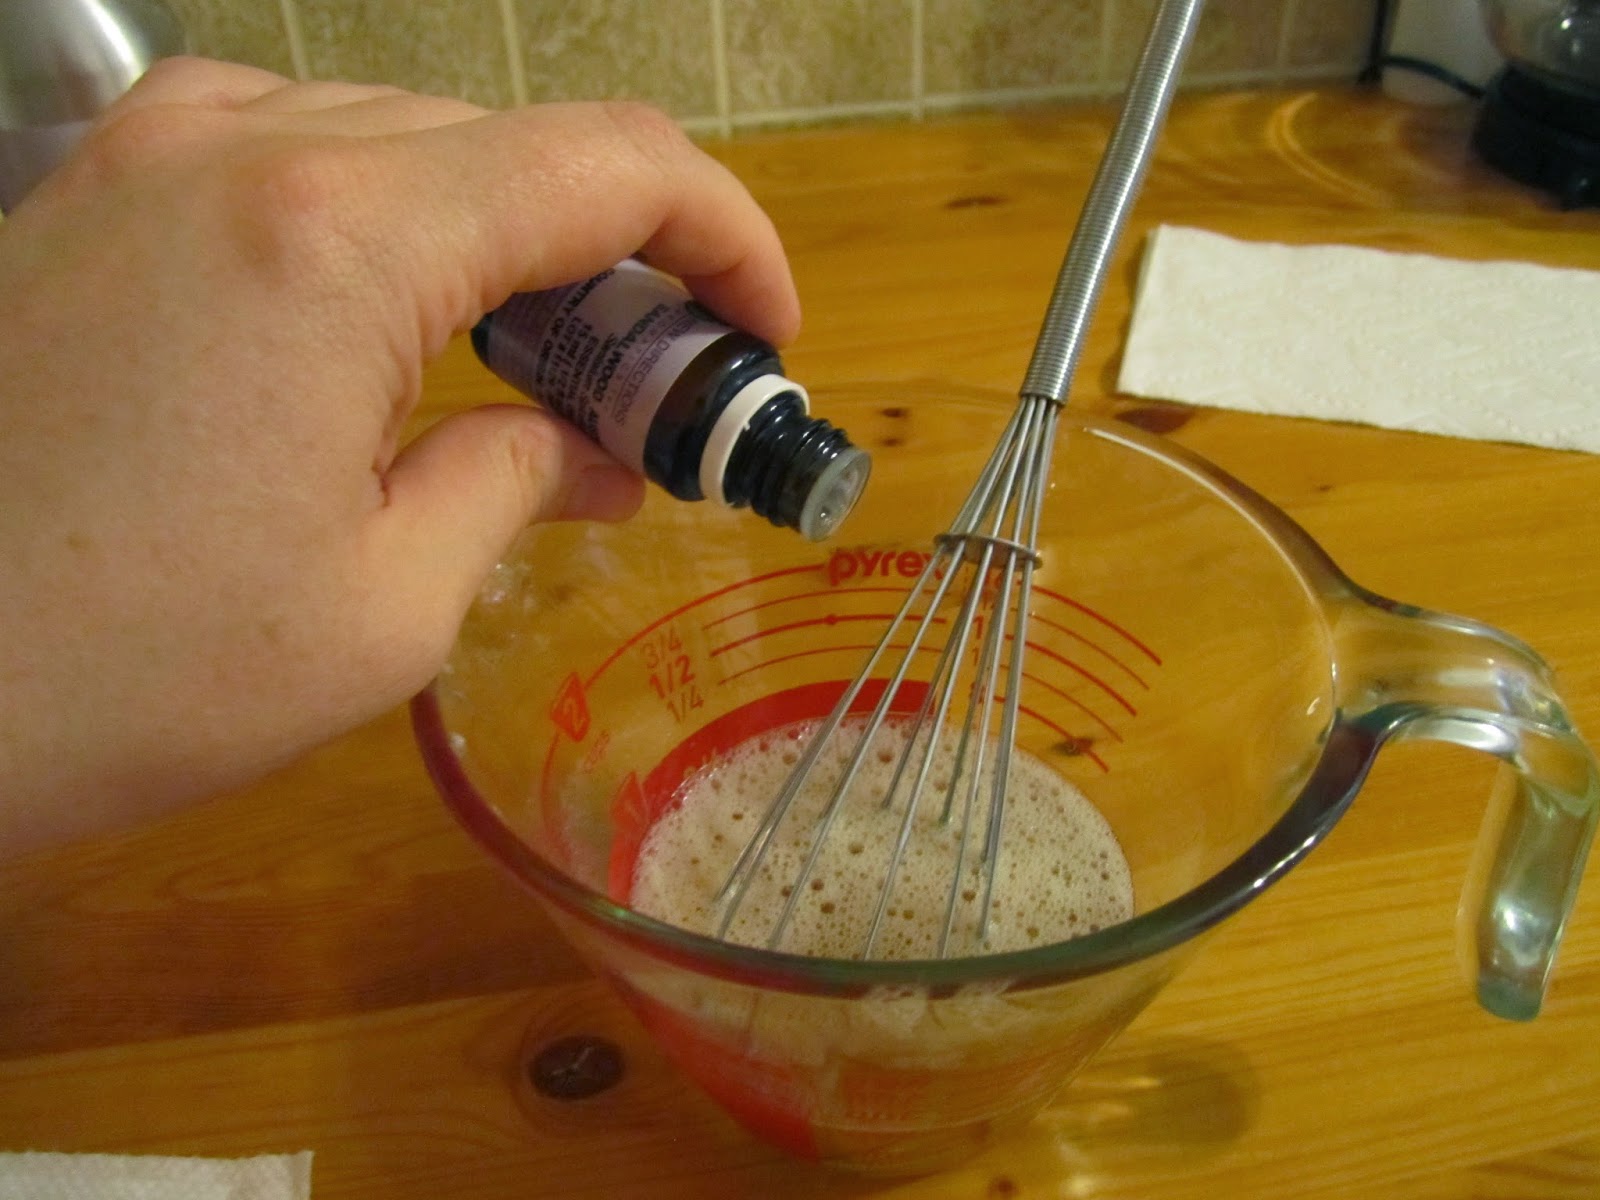
Remove from heat and let cool a bit. Add the Vitamin E and Essential Oils...
Pour into sterile tin containers. I find these containers at New Directions Aromatics. They are my fav because they have screw on lids which makes it easier for people of all ages and abilities to open and close the container properly. And all of this helps prolong the product's shelf life.

They also come in various sizes...

Ok, now cover em up with a paper towel. This ensures no dust or, ahem, cat fur gets in there while the salve cools. lol

Leave it for about thirty minutes and when you come back it should look like this. See the bubbles? That's the Vegetable Glycerin. Once you rub your finger in there to scoop up a bit, the bubbles will disappear. These babies are ready to be capped now!
I keep the big one in my manicure kit! I gave one to my niece. And I keep the other small one at my work desk. This recipe makes six ounces...
So, I have a serious question. Will you try making this recipe yourself? Would you be interested in purchasing when I make it available to the public? Hmm... I am full of curiosity! Feel free to comment. I am interested to know what y'all think!
Stay tuned for my next post of the series... Spoiler alert! It's a natural cuticle oil!
OXXO
Angélique
No comments:
Post a Comment